Home » DIY: Restoring Old Paintings to Their Former Glory
DIY: Restoring Old Paintings to Their Former Glory
To begin with, you might wonder who can jump into this fascinating world of DIY: restoring old paintings. Every painting holds a story, and bringing it back to its former glory means reviving that narrative. Art can bring people of different groups together, so when you restore something, you’re keeping a piece of the human story alive.
But heads up, restoring paintings is no walk in the park. Challenges pop up at every corner. From deciphering the best cleaning method to ensuring you’re using the right chemicals, there’s a learning curve, for sure. However, the satisfaction that arises when the colors begin to shine and the details reveal themselves beneath the layers of dirt and dust should not be overlooked. With the right tools, knowledge, and patience, you can transform a worn-out canvas into a vibrant masterpiece. With the right tools, knowledge, and patience, you can transform a worn-out canvas into a vibrant masterpiece. Let’s dive in!
Who Can Restore a Painting? DIY for Beginners
You don’t have to be a professional to restore a painting—if you’ve got patience and a good eye for detail, you can tackle minor fixes yourself. Cleaning off years of grime, patching tiny tears, and touching up faded spots with carefully matched paint are all things a beginner can handle with the right tools and a little practice.
That said, not every painting is a DIY job. If there’s serious damage, like flaking paint or deep cracks, it’s best to call in a pro. And if the piece has sentimental or historical value, you definitely don’t want to risk making things worse. Start small, do your research, and know when to step back and let an expert take over.
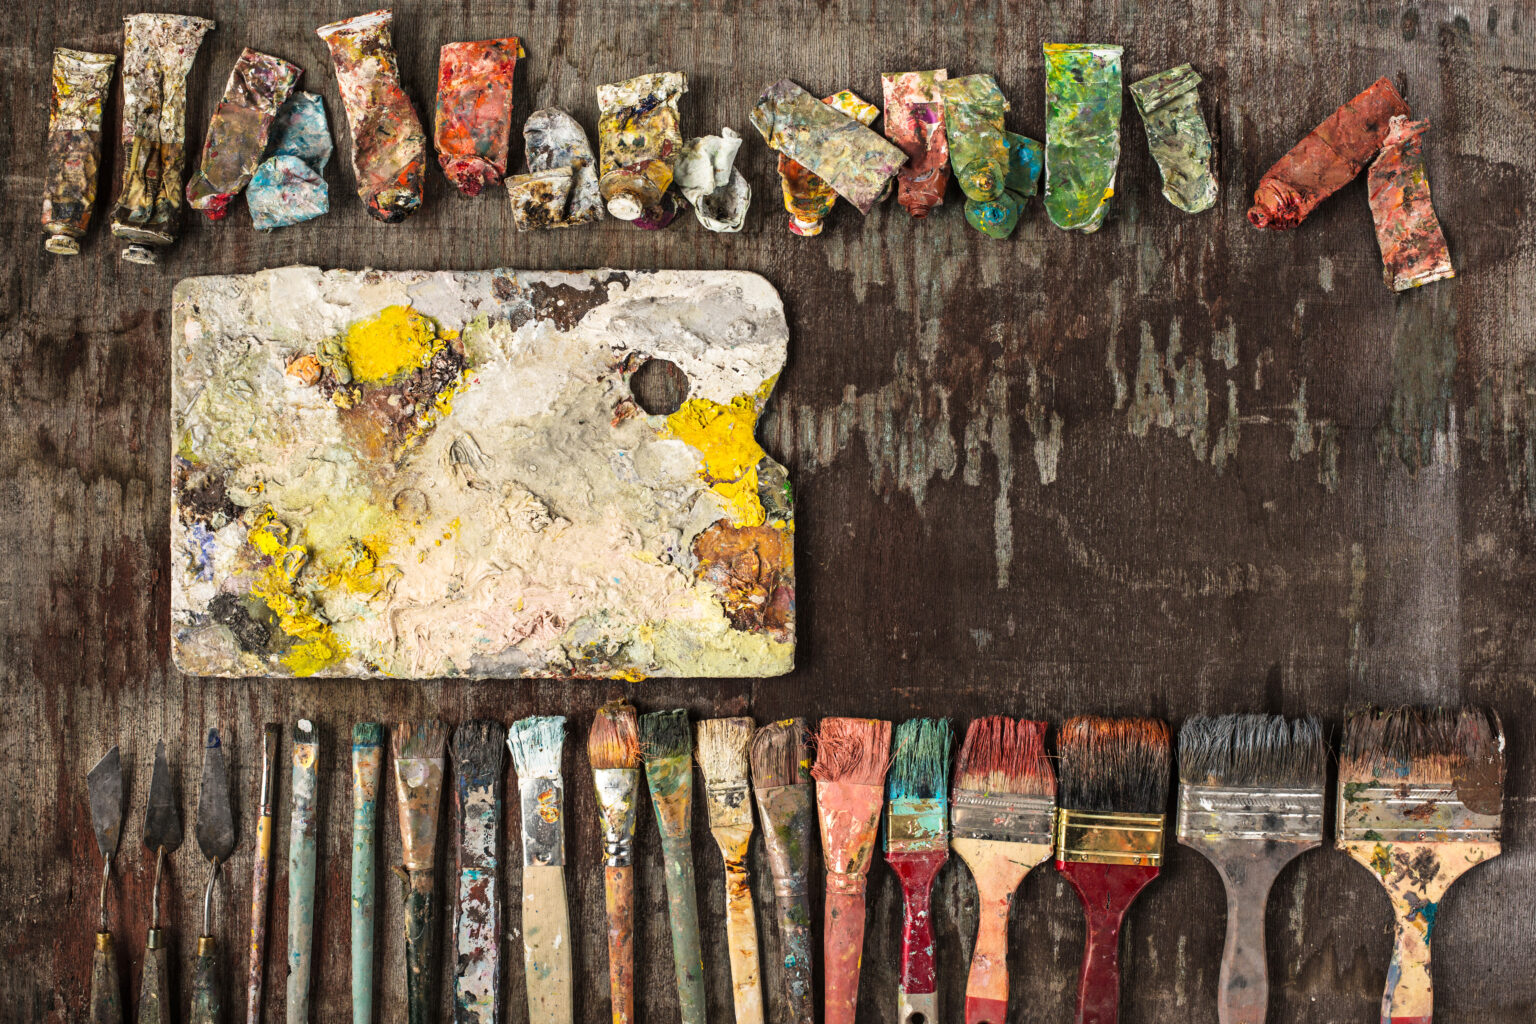
Tools & Chemicals: The Essentials for a Safe Restoration Experience

Kicking off a painting restoration project? You have to arm yourself with the right tools and materials. It’s because of this that each item has a special role to play and knowing how to use them makes all the difference.
Chemical solutions are your go-to for cleaning old paintings. Solvents like acetone and mineral spirits are common in a restorer’s kit. First of all, they help remove layers of varnish and grime without mucking up the actual artwork. Important to remember: these chemicals are potent, so they deserve respect and care when handling.
Beyond chemicals, the tools of the trade range from soft natural-bristle brushes to specialized spatulas. Soft bristle brushes are perfect for gently dusting and surface cleaning, while a spatula can assist in delicate paint layer adjustments. Invest in a good magnifier to catch all the tiny, intricate details, too.
Having the right equipment sets you up for successful restoration. It’s like having a toolbox where every piece is key to transforming a neglected painting into a vibrant work of art.
Always wear gloves and a mask to avoid inhaling fumes.
Work in a well-ventilated area to minimize exposure.
Use soft brushes and cotton swabs to prevent damage.
Step-By-Step Process: From Grime to Shine
1. Assess the Condition of Your Painting
Examine the artwork under natural and UV light. Look for cracks, discoloration, and old varnish buildup. Take photos before starting for reference.
2. Set Up Your Workspace
Choose a clean, dust-free area with good lighting. Lay down a soft cloth to protect the painting’s surface.
3. Cleaning the Painting for Your DIY: Restoring Old Painting Projects
Start with a dry, soft brush to remove surface dust. If grime persists, use a cotton swab dipped in a mild cleaning solution. Always test a small area first!
4. Repairing Tears and Cracks
For minor cracks, apply a specialized filler using a palette knife. If the canvas is torn, carefully align the edges and use conservation-grade glue to mend it.
5. Applying a Protective Varnish
Once cleaned and repaired, apply a fresh coat of varnish to enhance colors and provide long-term protection.
Caring for Your Restored Masterpiece
Keep Your Painting Vibrant
Always avoid direct sunlight to prevent fading.
Keep humidity levels stable to prevent warping.
Use a soft brush or microfiber cloth for gentle dusting.
Protect Against Environmental Damage
Frame the painting with UV-protective glass.
Avoid placing it near heat sources like radiators or fireplaces.
Remember, regular Inspection Matters
Check your painting every few months for any signs of deterioration. Early detection of issues like mold or cracking can prevent major restoration work in the future.
Conclusion: Why DIY: Restoring Old Paintings is Worth It
Restoring an old painting is a rewarding experience that combines artistry, patience, and care. Not only do you breathe new life into forgotten works, but you also get to enjoy a personal connection to history. With the right techniques, tools, and precautions, anyone can take on this DIY challenge and succeed.
Ready to bring your artwork back to life? Start your restoration journey today!
Bonus: If you liked this post, you may also like these:

Tradition, Treasures & Timeless Stories—Delivered Weekly
Every antique tells a story, and every tradition carries a memory. Our newsletter brings you closer to both, with inspiration, guides, and finds that make nostalgia part of your everyday life. Subscribe today and let the past brighten your future.