Home » Maintenance & Restoration » Vintage Restoration: Bring Radios, Clocks & Furniture Back to Life
Vintage Restoration: Bring Radios, Clocks & Furniture Back to Life
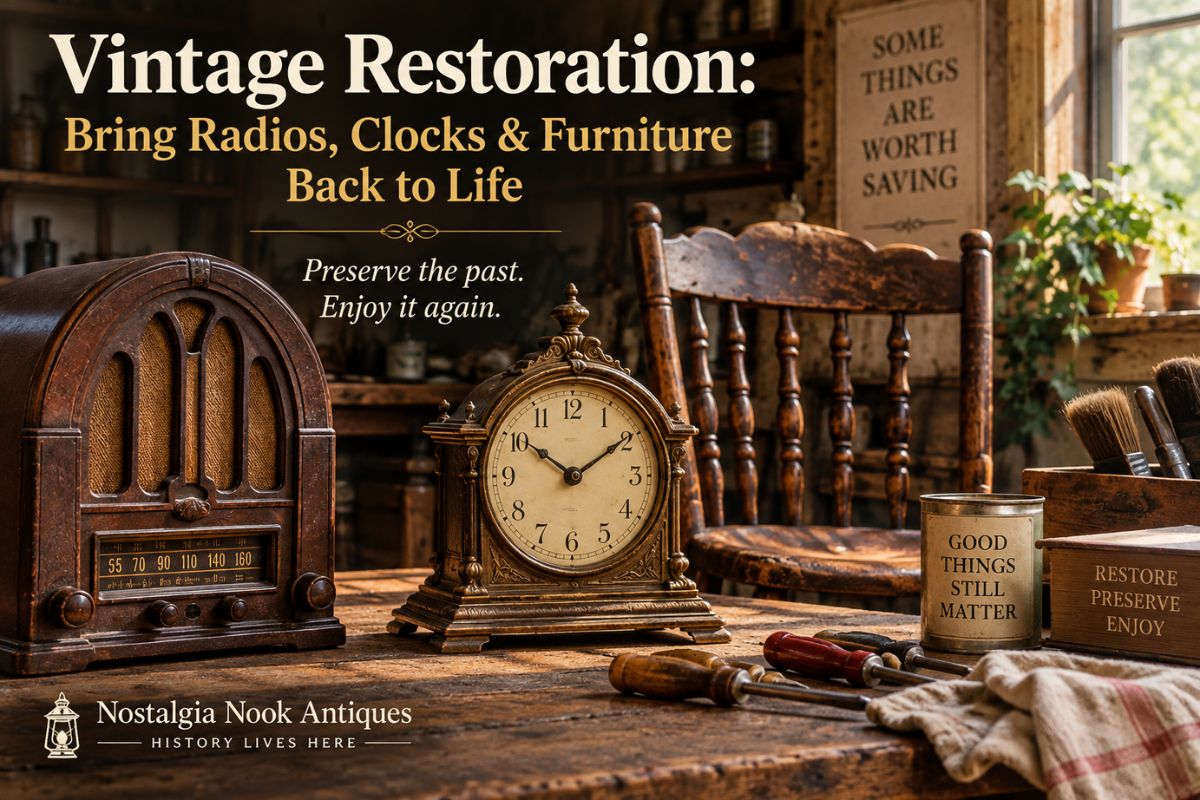
A Little Dust, a Lot of Potential
Vintage restoration often begins with something most people would walk right past: a dusty old radio, a silent clock, or a scarred wooden chair.
Some people see those things and think, Time to get rid of it.
We see something else.
Beneath the dust may be craftsmanship that has survived for generations, along with scratches, worn edges, and little imperfections that tell part of its story.
Still, bringing something back to life doesn’t always mean making it look brand new. Sometimes the smartest restoration decision is knowing what not to change. An original finish, an old repair, or even years of gentle wear may be part of what makes a piece worth preserving.
That’s what we’re going to explore here. We’ll look at vintage radios, old clocks, and furniture; what you can reasonably tackle yourself; when it’s better to call a professional; and the mistakes that can turn a weekend project into an expensive lesson.
Because around Nostalgia Nook, the goal isn’t to erase the years.
It’s to give them more years ahead.
Watch: Bring It Back to Life
Prefer to watch? See how forgotten radios, clocks, and furniture can be given another chance in our Nostalgia Nook companion video.
Vintage Restoration Starts With Knowing What You Have
That battered chair in the garage may be a $20 flea-market rescue. Then again, it could be something that has survived longer than anyone in your family.
Before vintage restoration begins, become a detective.
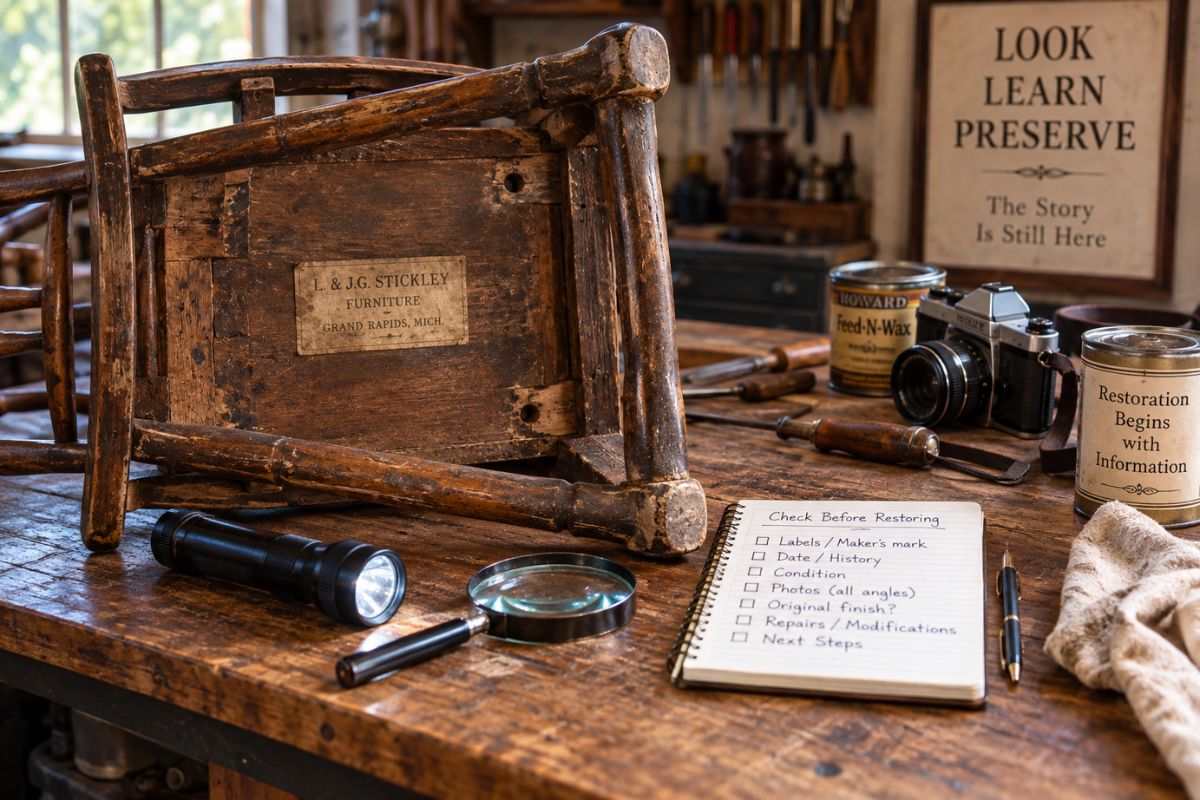
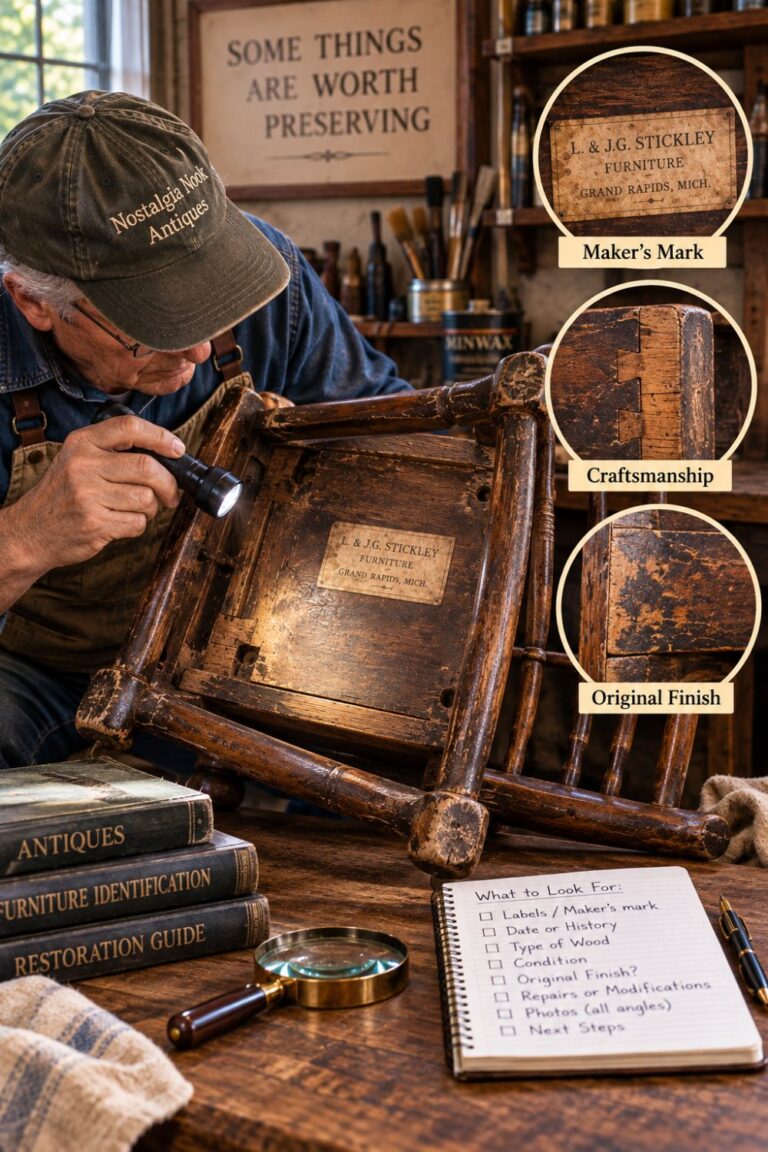
Look underneath furniture for labels, stamps, handwritten dates, unusual joinery, or old repairs. On radios and clocks, check the maker’s name, model number, dial, cabinet, movement, and anything else that might help identify when and where it was made.
Next, take pictures before you clean, polish, sand, unscrew, or replace anything. Photograph the front, back, underside, labels, hardware, damage, and anything unusual. Professional preservation practices place considerable importance on examining, documenting, and planning before treatment begins.
Restore, Repair, Preserve—or Leave It Alone?
Here’s where restoration gets interesting.
A loose leg on an ordinary kitchen chair may simply need repair. Meanwhile, stripping an original finish from a valuable antique could erase part of its history. Even seemingly harmless products aren’t automatically safe: National Park Service guidance notes that treatment choices depend on the existing finish and cautions against indiscriminate use of some furniture polishes.
So, before reaching for the toolbox, ask:
What am I trying to save—the object, its appearance, its usefulness, or its history?
Sometimes those goals work together. Sometimes they don’t.
That kind of repairability helps explain why so many older objects remain useful decades later. Our guide to what vintage technology still works today looks at mechanical clocks, record players, film cameras, rotary phones, and other classics that continue to do the job.
Nostalgia Nook Antiques Note: The first tool in a good vintage restoration kit isn’t a screwdriver. It’s patience.
Why Old Things Deserve a Second Chance
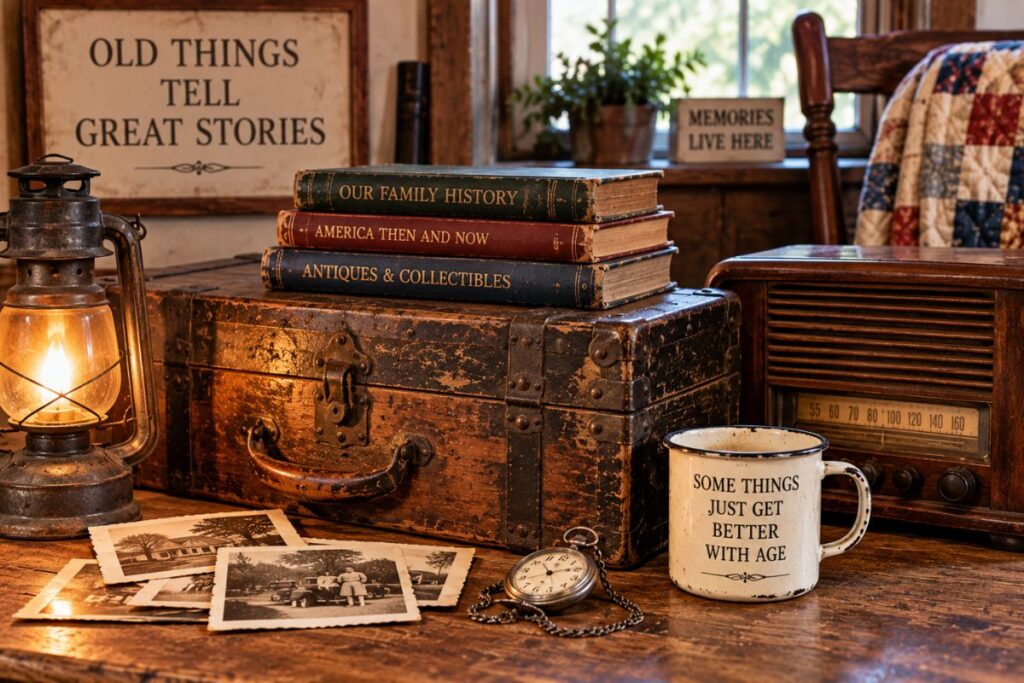
There was a time when repairing something was simply part of owning it. A loose chair was tightened. A silent radio went to the repair shop. When a clock stopped ticking, somebody opened the case before anybody considered replacing it.
Of course, old doesn’t automatically mean better. Plenty of inexpensive furniture and household goods were made generations ago, too. Still, many surviving pieces tell us something about the materials, craftsmanship, design, and everyday lives of the people who used them.
That’s part of what makes vintage restoration rewarding. You’re not merely fixing a broken object. Sometimes you’re preserving a small piece of someone’s story.
Perhaps it’s the radio your grandfather listened to during baseball games. Maybe it’s the kitchen clock that hung above your mother’s stove or the chair that somehow survived three generations of Thanksgiving dinners.
The scratches matter then.
So do the faded finish, the repaired joint, and that little dent nobody remembers making.
When Imperfections Become Part of the Story
Modern restoration can tempt us to make everything look new again. However, age leaves evidence behind, and sometimes that evidence is precisely what gives an old object its character.
Conservators even have a word closely associated with this idea: patina. The National Park Service emphasizes preserving historic character, materials, finishes, and changes that have acquired significance over time.
That’s an important distinction for the home restorer.
A water ring may need attention. A dangerously loose joint certainly does. Yet an old chair doesn’t necessarily need to look as though it left the factory yesterday to deserve a place in your home.
Sometimes the goal isn’t to make an old object young again.
It’s to make sure its story doesn’t end with us.
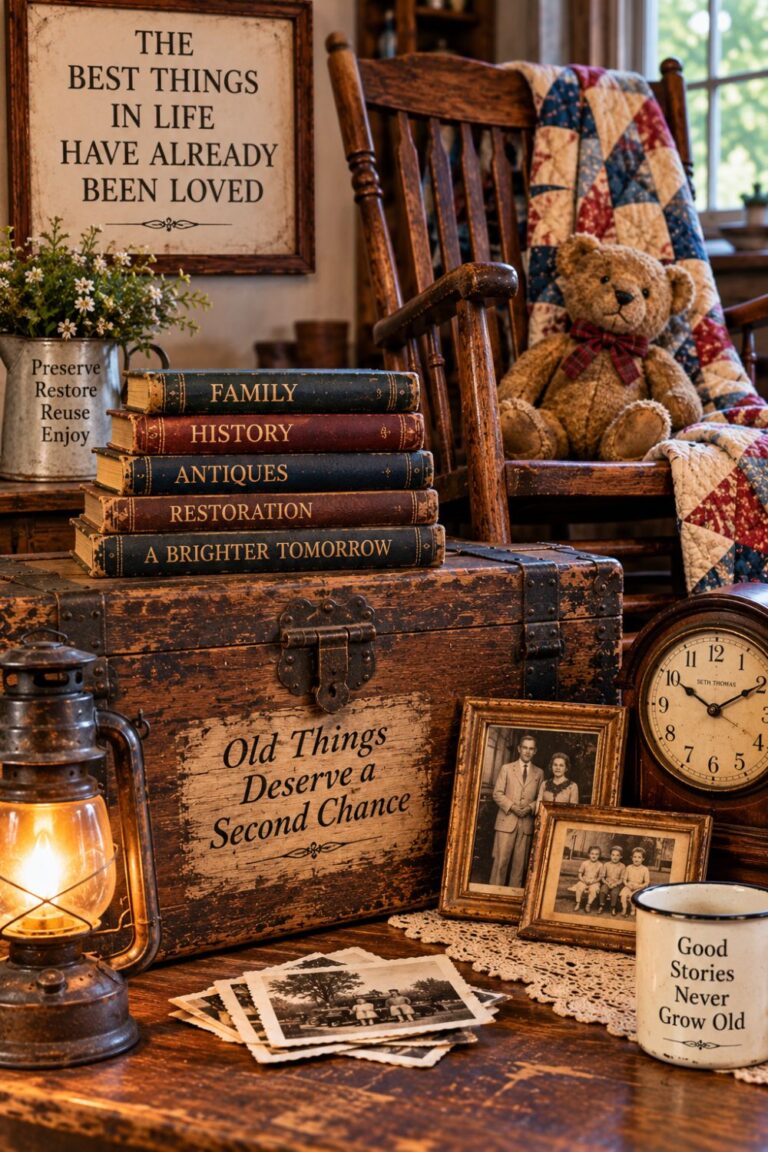
Nostalgia Nook Antiques Note: Every scratch doesn’t need erasing. Some of them are signatures left by time.
Vintage Radio Restoration: When Silence Doesn't Mean the End
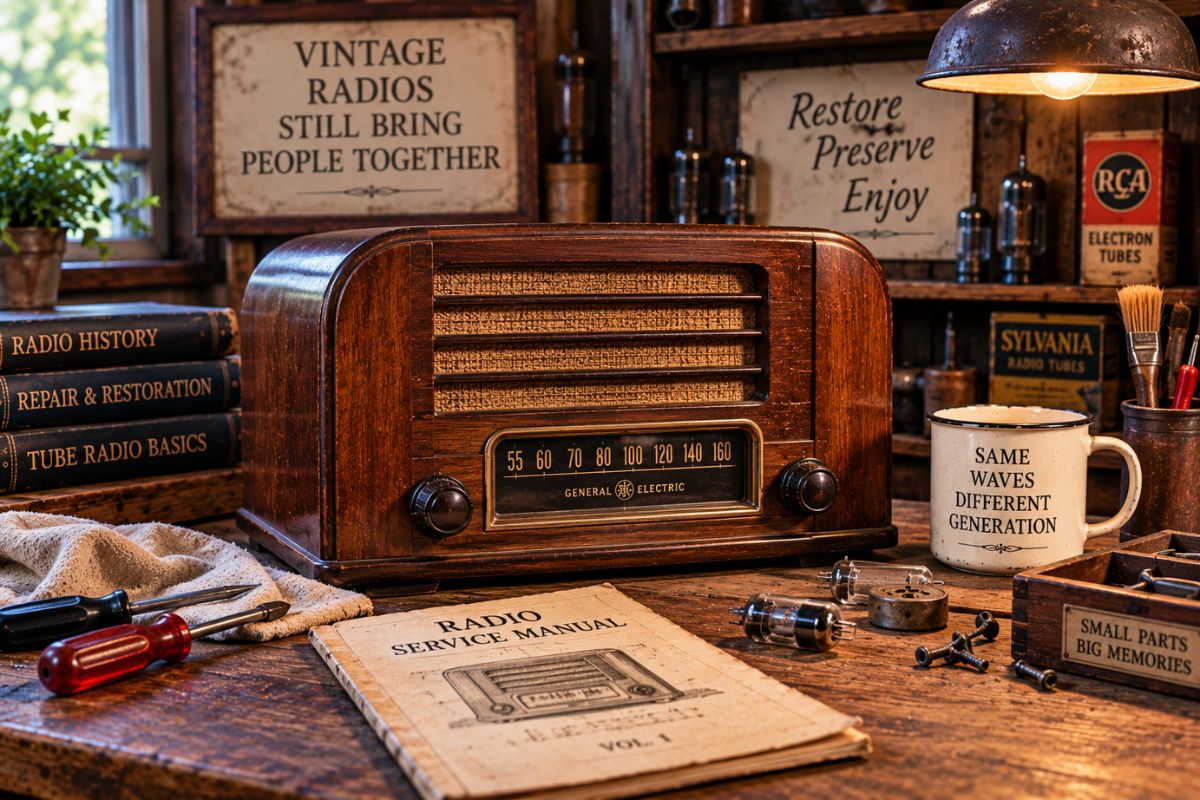
An old radio sitting silently on a shelf can still have plenty to say.
For decades, radios occupied a special place in American homes. Families gathered around them for news, baseball games, comedy, music, presidential addresses, and wartime reports. Consequently, restoring one can feel like reconnecting a small piece of the house to the world it once knew.
Want to hear the kinds of broadcasts these radios once brought into American homes? Visit our Nostalgia Radio Theater for classic radio shows and historic American broadcasts.
Still, vintage restoration of an old radio requires some restraint.
The wooden cabinet may need nothing more than careful cleaning. Loose knobs, damaged grille cloth, scratches, or a tired finish may also be manageable. However, what’s hiding inside the cabinet is another matter.
Don't Plug It In Just to See What Happens
An unrestored tube radio shouldn’t automatically be plugged into a wall outlet simply because the cord looks intact. Old capacitors, deteriorated insulation, damaged wiring, and other aging components can create electrical hazards or damage parts that might otherwise have been saved.
The Antique Wireless Association recommends careful preservation of historic radio equipment and maintains extensive resources devoted to radio history, restoration, and collecting.
For that reason, if you don’t understand the electrical side of an old radio, let an experienced technician inspect the chassis before applying power.
Meanwhile, there’s still plenty you can do.
Photograph the radio from every angle. Record the manufacturer and model number. Inspect the cabinet, dial glass, knobs, grille cloth, and back panel. Then research what the radio originally looked like before replacing anything.
After all, a reproduction knob that looks close isn’t necessarily the right knob.
Bring Back the Beauty Without Erasing the Years
Wooden radio cabinets are often where a beginner can make the biggest visual improvement. Yet aggressive sanding can remove original finish, veneer, decals, labels, and other details surprisingly quickly.
Instead, start gently.
Remove loose surface dirt carefully. Determine what finish you’re dealing with. Preserve original markings whenever possible. Above all, don’t assume every scratch needs to disappear.
That old cabinet survived family rooms, ball games, election nights, Christmas mornings, and perhaps a move or two.
A few scars have earned their place.
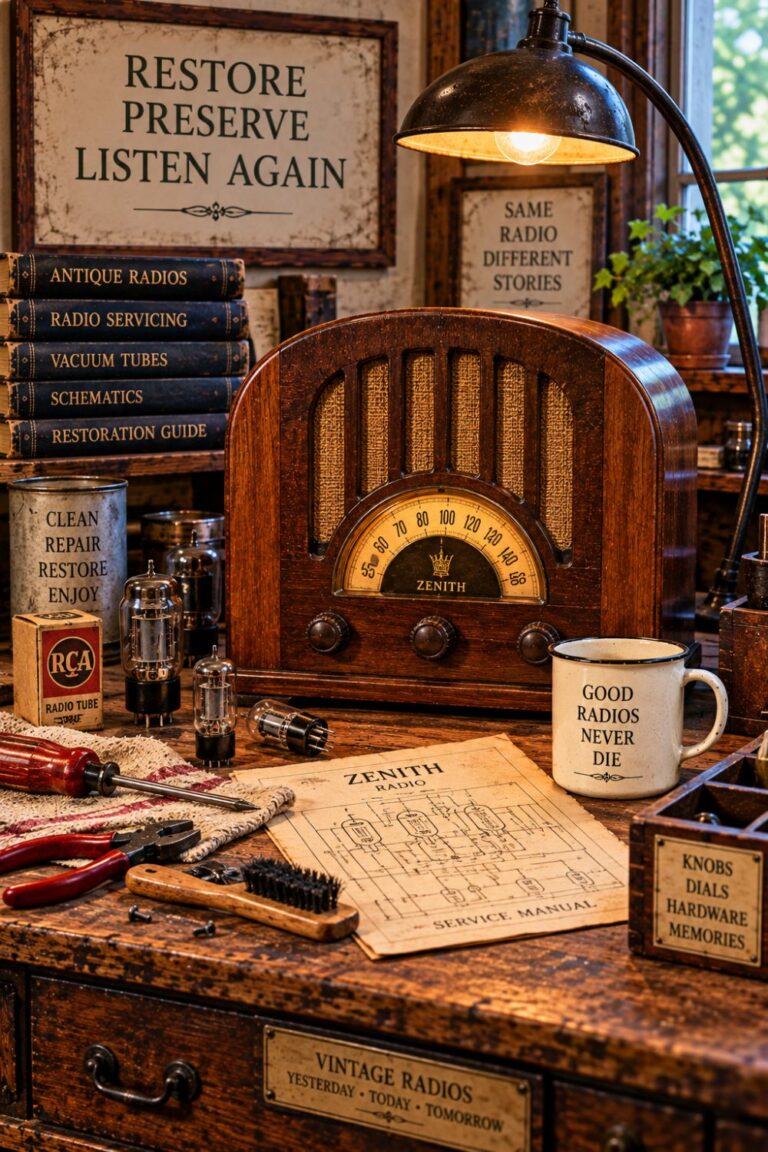
Nostalgia Nook Note: A restored radio doesn’t have to look new. It should look cared for.
Vintage Restoration for a Stopped Clock
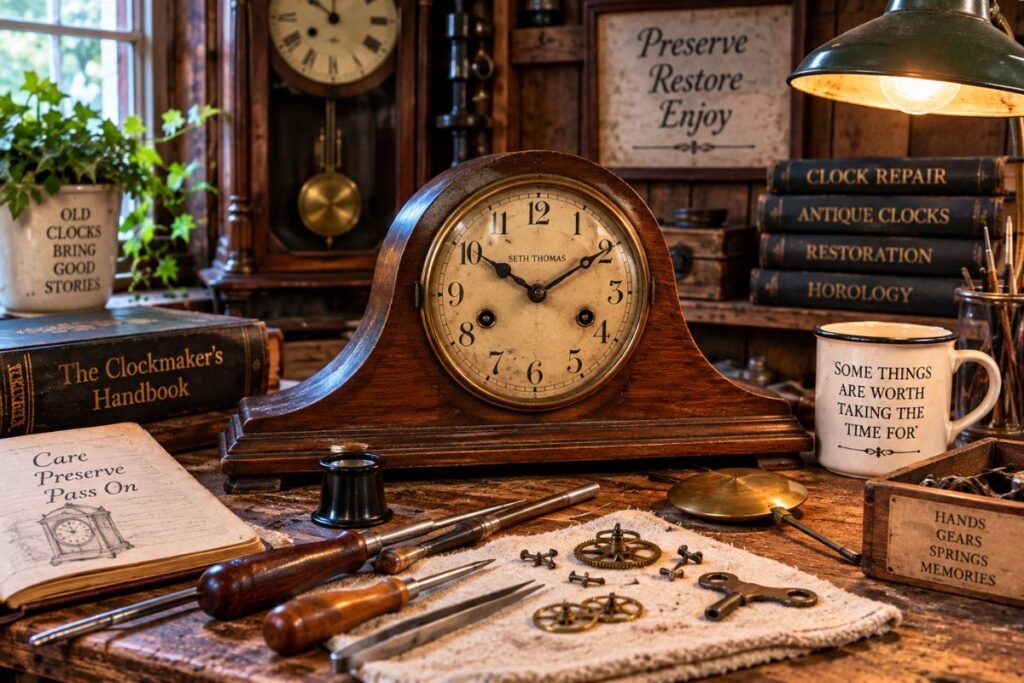
A stopped clock has a way of making a room feel unusually quiet.
For generations, mantel clocks, wall clocks, and tall-case clocks did more than tell time. Their ticking became part of the sound of home. Consequently, when an old family clock stops running, the natural reaction is often, “Can I get it going again?”
If old clocks fascinate you, you may also enjoy our guide to caring for a grandfather clock, with practical tips for keeping one in good condition.
Sometimes you can. However, vintage restoration involving a mechanical clock requires the same rule we’ve already learned with radios: first understand what you have.
Look for a maker’s name, label, serial number, markings on the movement, and any family history associated with the clock. Photograph everything before removing parts. In particular, document the dial, hands, case, movement, pendulum, weights, and existing repairs.
A little detective work now can prevent a lot of regret later.
When a Stopped Clock Needs More Than a Push
Not every stopped clock is broken.
A mechanical clock may stop because it isn’t level, the pendulum isn’t swinging correctly, or something was disturbed during a move. On the other hand, dried lubricants, worn bushings, damaged gears, tired springs, or previous repairs may require professional attention.
That’s where restraint becomes important.
Avoid spraying household lubricant into a clock movement. Likewise, don’t start bending parts or forcing gears because something appears stuck. Clock movements contain precisely fitted components, and a seemingly small adjustment can create a much larger problem.
The Canadian Conservation Institute recommends a full mechanical assessment before attempting to make an old clock run again. For rare or historic clocks, it also raises an important question: whether returning the clock to working condition can be done without compromising the object itself.
The Case Deserves Care, Too
Meanwhile, don’t forget the part of the clock everyone actually sees.
Wooden cases, painted dials, brass fittings, glass, decorative veneers, and old labels can be damaged by aggressive cleaning. Therefore, begin with the gentlest approach possible and don’t assume a shiny surface is necessarily a better one.
That faded finish may be original.
Those tiny scratches may have accumulated over a century.
Even an old repair can become part of the clock’s history.
For an ordinary family clock, the goal may simply be to stabilize the case, clean it carefully, and have the movement professionally serviced so the clock can return to the mantel.
For something rare or historically important, however, preservation may matter more than making it run.
And sometimes the sweetest sound in the room isn’t music at all.
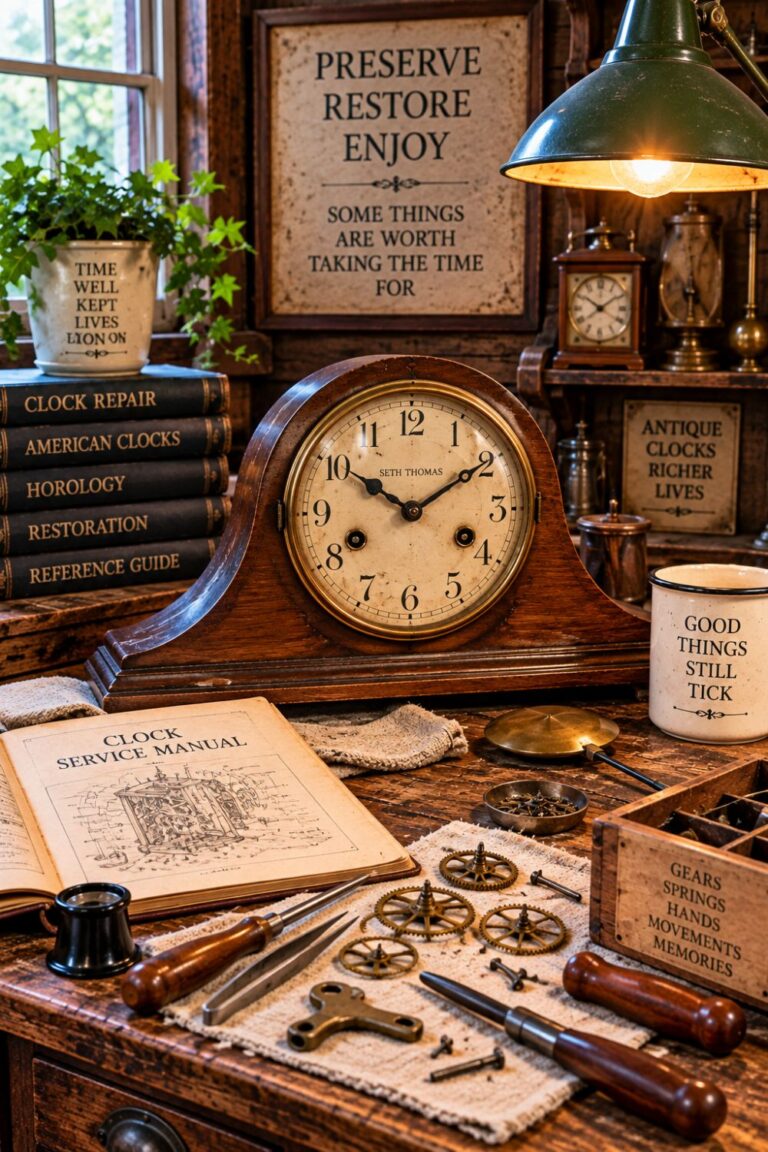
Nostalgia Nook Note: It’s an old clock ticking again after years of silence.
Vintage Furniture Restoration: Save the Story in the Wood
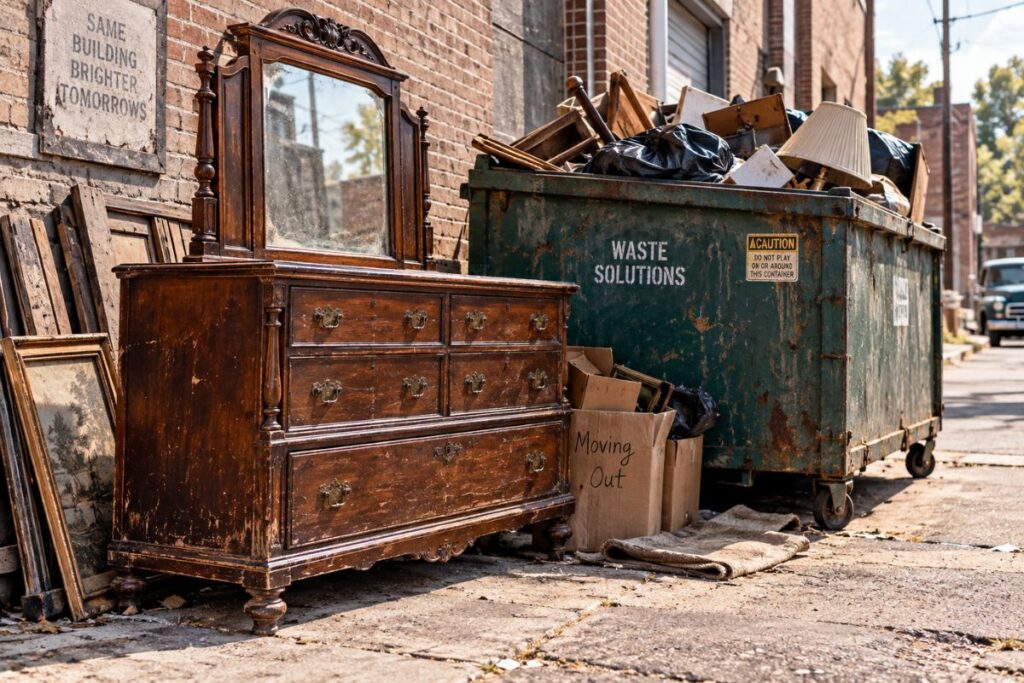
Old furniture wears its history where everyone can see it.
A dining table may carry faint scratches from decades of family meals. A dresser might have a stubborn water ring. Meanwhile, Grandpa’s favorite chair may have an arm polished smooth simply because his hand rested there thousands of times.
Those aren’t necessarily defects.
They’re evidence that the furniture had a life before it reached us.
That’s why vintage restoration should begin with a question we’ve already encountered: What really needs fixing?
A wobbly leg, loose joint, missing piece of hardware, or unstable drawer may require repair. On the other hand, faded color, small dents, and ordinary wear may simply be part of the piece’s character.
Vintage Restoration: Repair the Problem, Not the Entire Piece
It’s tempting to attack tired furniture with sandpaper and start over. However, stripping and refinishing shouldn’t automatically be the first step. Not sure whether an old piece should be restored at all? Our guide to knowing when to start restoring explains when careful restoration adds value—and when preserving the original character may be the wiser choice.The National Park Service recommends considering the condition and type of the existing finish before treating old wooden furniture. Even seemingly harmless waxes and polishes can alter an old surface or damage certain finishes.
That’s a valuable principle even when we’re working on ordinary family furniture.
Start with the least aggressive approach. Examine loose joints before adding screws. Identify the existing finish before applying cleaners or waxes. Likewise, keep original hardware whenever practical rather than replacing it simply because something newer looks shinier.
Sometimes the Wear Is the Best Part
There’s also a difference between a historically important antique and the $25 wooden chair you rescued from a garage sale.
The garage-sale chair may be the perfect place to learn basic repairs. Conversely, an older piece with an original finish, unusual construction, maker’s mark, or possible historical value deserves more investigation before anything irreversible is done.
That’s especially true with aggressive sanding.
Once an original surface, label, painted decoration, veneer, or evidence of craftsmanship disappears, we can’t simply put the years back.
Yet preservation doesn’t mean an old piece must become a museum exhibit.
A repaired dining chair can return to the table. A dresser can hold clothes again. A scratched side table can sit beside your favorite chair for another generation. Upholstered pieces bring their own challenges. If you’re working with an older chair or sofa, our guide to restoring antique upholstery looks at preserving both comfort and the character of the original piece.
That’s the wonderful thing about furniture.
Sometimes preserving its history means letting it continue doing the job it was built to do.
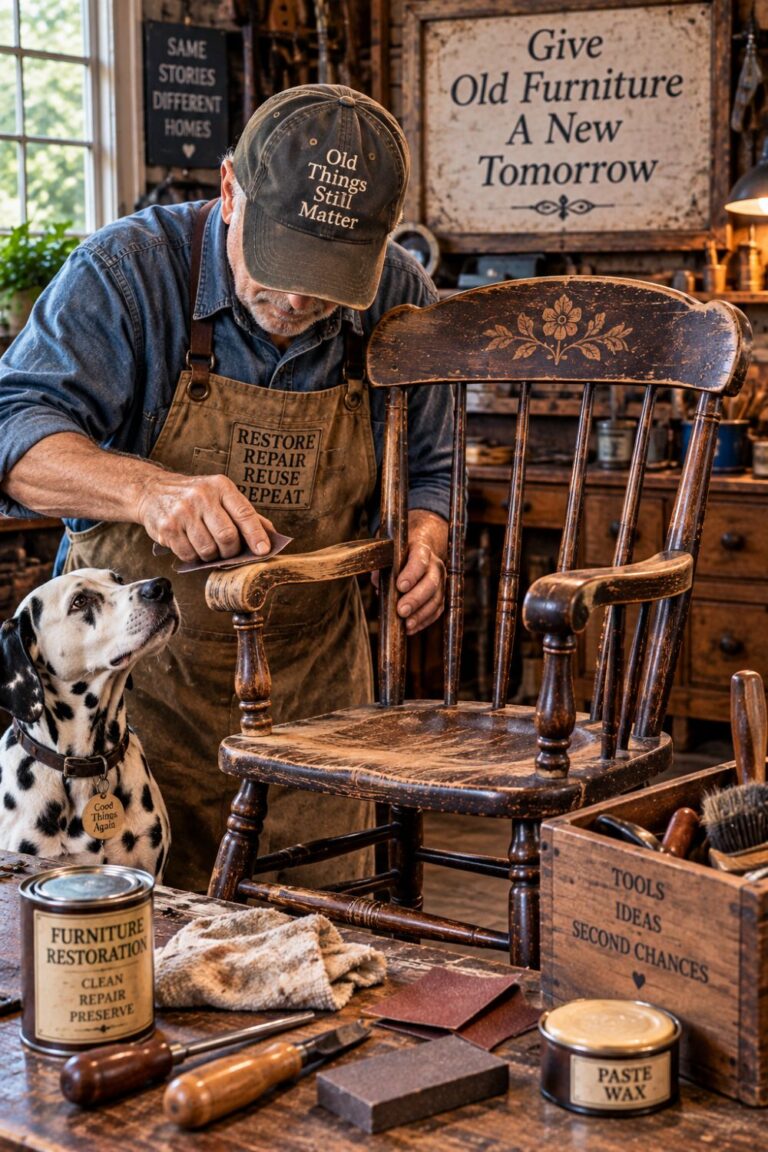
Nostalgia Nook Note: Don’t restore away the very thing that made an old piece worth saving.
Restore It, Preserve It, or Leave It Alone?
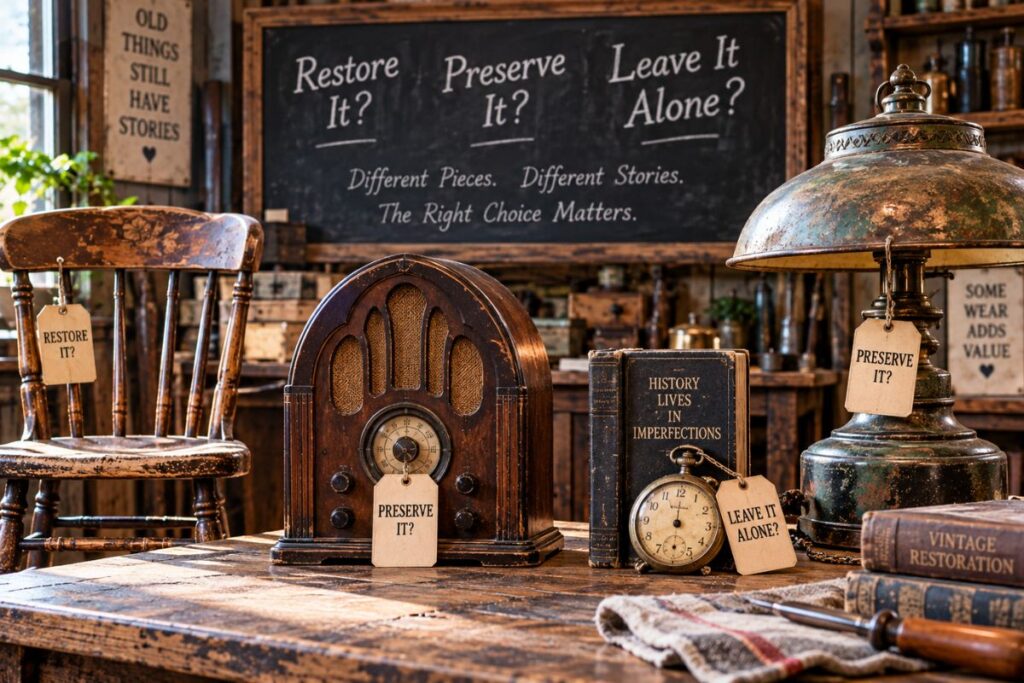
Here’s the strange thing about vintage restoration: sometimes the best restoration decision is to do almost nothing.
By now, we’ve looked at radios, clocks, and furniture that can often benefit from careful repair. However, every old object brings a different history with it. Before changing anything permanently, it’s worth deciding what we’re actually trying to accomplish.
Do we want the piece to work again?
Do we want it to look better?
Or, more importantly, are we trying to preserve what has survived?
Those goals aren’t always the same.
Restore It
Restoration makes sense when deterioration or damage prevents an ordinary object from being safely used or enjoyed.
A loose chair joint can be repaired. Missing hardware can sometimes be replaced with an appropriate match. Likewise, a common radio with a sound cabinet may be electrically restored by someone who knows what they’re doing.
The key word is appropriate.
Restoration should give an old object another chapter without unnecessarily rewriting the chapters that came before it.
Preserve It
Sometimes age itself has become part of the object.
An original furniture finish may be worn but stable. A radio cabinet may have scratches from decades of use. An old clock may carry a faded label or handwritten repair date inside its case.
Those details can tell us something.
The National Park Service’s Standards for Preservation emphasize retaining historic materials and features rather than routinely replacing them. Although those standards were written for historic properties, the underlying principle is useful when thinking about treasured objects as well: preserve what remains whenever doing so makes sense.
Leave It Alone: Put down the tools.
If you’ve discovered a maker’s mark, an unusual original finish, hand-painted decoration, rare hardware, or evidence that a piece could be historically or financially significant, stop before making an irreversible change.
Research it first. If necessary, have someone knowledgeable examine it.
After all, you can always decide to restore something tomorrow.
You can’t unsand a tabletop.
You can’t put original paint back after stripping it.
And you can’t recreate 100 years of genuine wear with a can labeled “antique finish.”
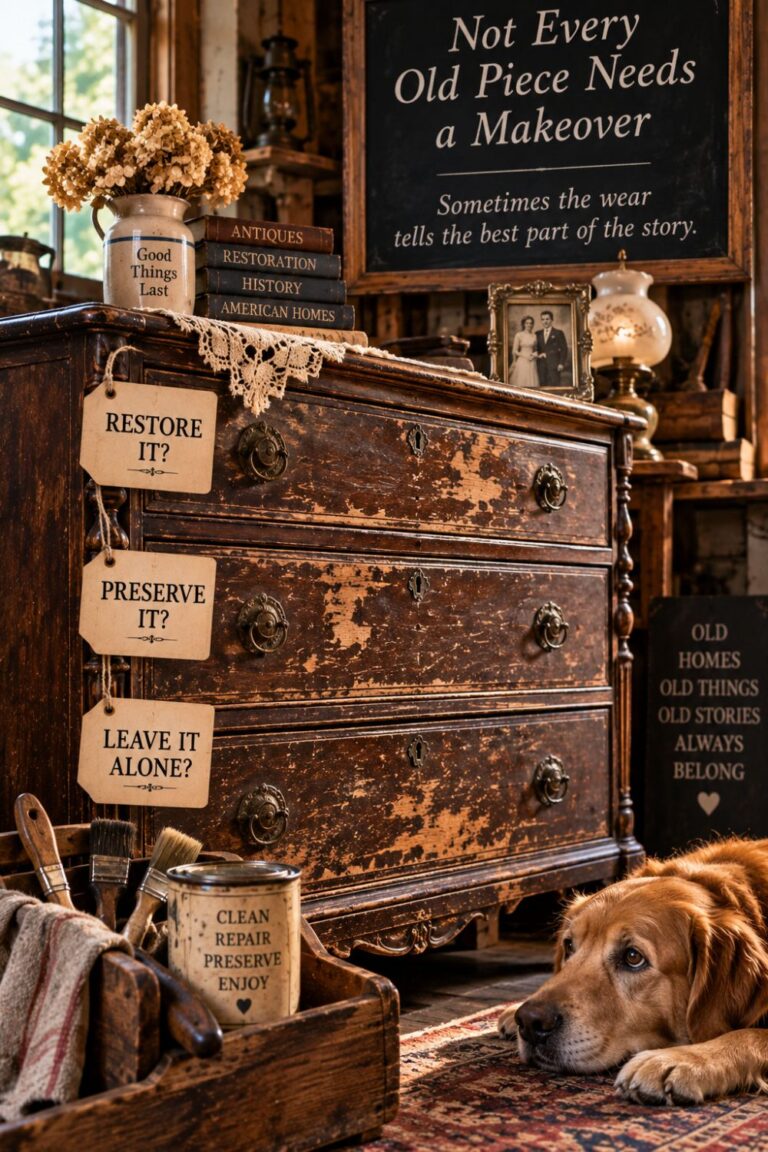
Nostalgia Nook Antiques Note: Sometimes preserving the past means having the good sense not to improve it.
Vintage Restoration Mistakes That Can Do More Harm Than Good
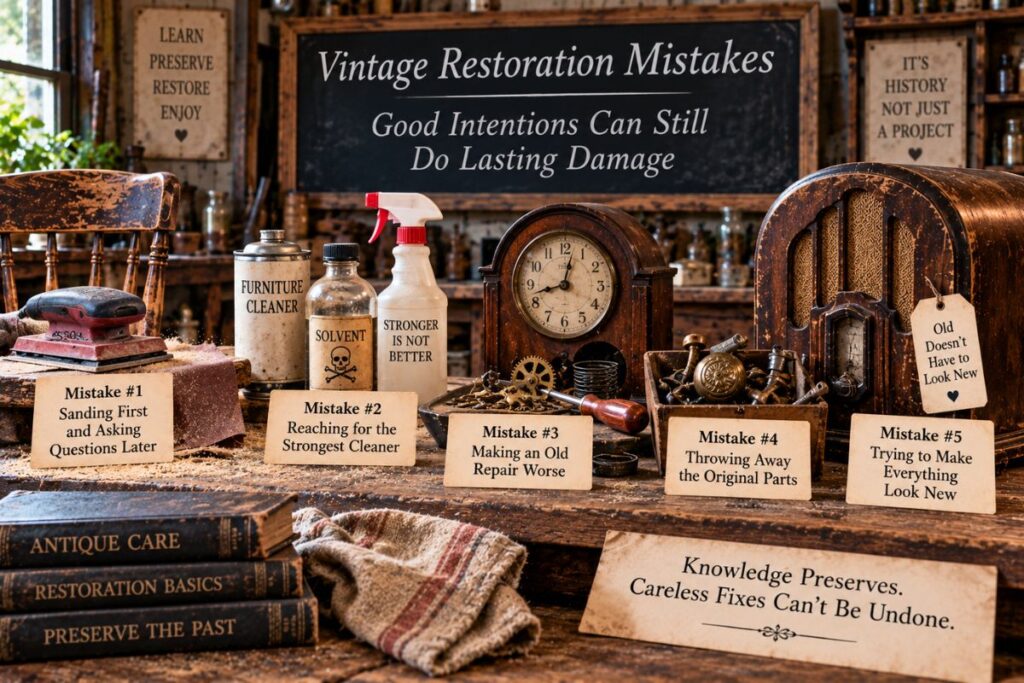
There’s a dangerous moment in almost every vintage restoration project.
You’ve looked at the piece long enough. The tools are sitting there. You’ve watched a few videos. Suddenly you think:
How hard could this be?
That’s usually when our staff recommends putting the power sander back on the shelf.
Restoration mistakes aren’t always dramatic. Sometimes they’re as simple as using the wrong cleaner, replacing original hardware, or sanding a surface that only needed gentle cleaning.
Unfortunately, what takes five minutes to remove may have taken 100 years to acquire.
Vintage Restoration Mistake #1: Sanding First and Asking Questions Later
Sandpaper isn’t evil. However, it’s irreversible.
Aggressive sanding can remove an original finish, soften crisp edges, damage thin veneer, erase painted decoration, and destroy maker’s marks or other evidence of age.
Before sanding, identify what you’re working with and decide whether the existing surface actually needs to disappear.
Sometimes the answer is yes.
Quite often, it isn’t.
Mistake #2: Reaching for the Strongest Cleaner
If a little cleaner works, more must work better, right?
Not with antiques.
Strong solvents, household cleaners, furniture sprays, and mystery concoctions from the internet can stain wood, soften finishes, discolor metal, or leave residues behind.
The National Park Service recommends testing treatments in an inconspicuous location and choosing furniture treatments according to the existing finish rather than applying products indiscriminately.
Mistake #3: Making an Old Repair Worse
Loose furniture doesn’t automatically need another screw.
Likewise, a stuck clock mechanism shouldn’t be forced, and an unrestored tube radio shouldn’t be plugged in merely to see whether it works.
First determine why something failed.
Repair should solve the problem, not introduce the next one.
Mistake #4: Throwing Away the Original Parts
That ugly old knob in the drawer?
Keep it.
The mismatched screw, faded label, worn handle, broken trim, old radio back, and even previously replaced components can provide clues about how an object was made or repaired.
If something must be replaced, label the original and store it with the piece whenever practical.
In the future you may be very glad present you didn’t throw it away.
Mistake #5: Trying to Make Everything Look New
This may be the biggest mistake of all.
A 90-year-old radio isn’t supposed to look as though it arrived yesterday. Neither is an old clock or a chair that has survived several generations.
Certainly, remove damaging grime. Stabilize loose parts. Address genuine deterioration.
But don’t confuse perfection with preservation.
Sometimes the faded spot, rubbed armrest, tiny dent, or darkened finish is precisely what separates an old object from a reproduction.
And if you’re uncertain?
Stop.
Research is cheaper than regret.
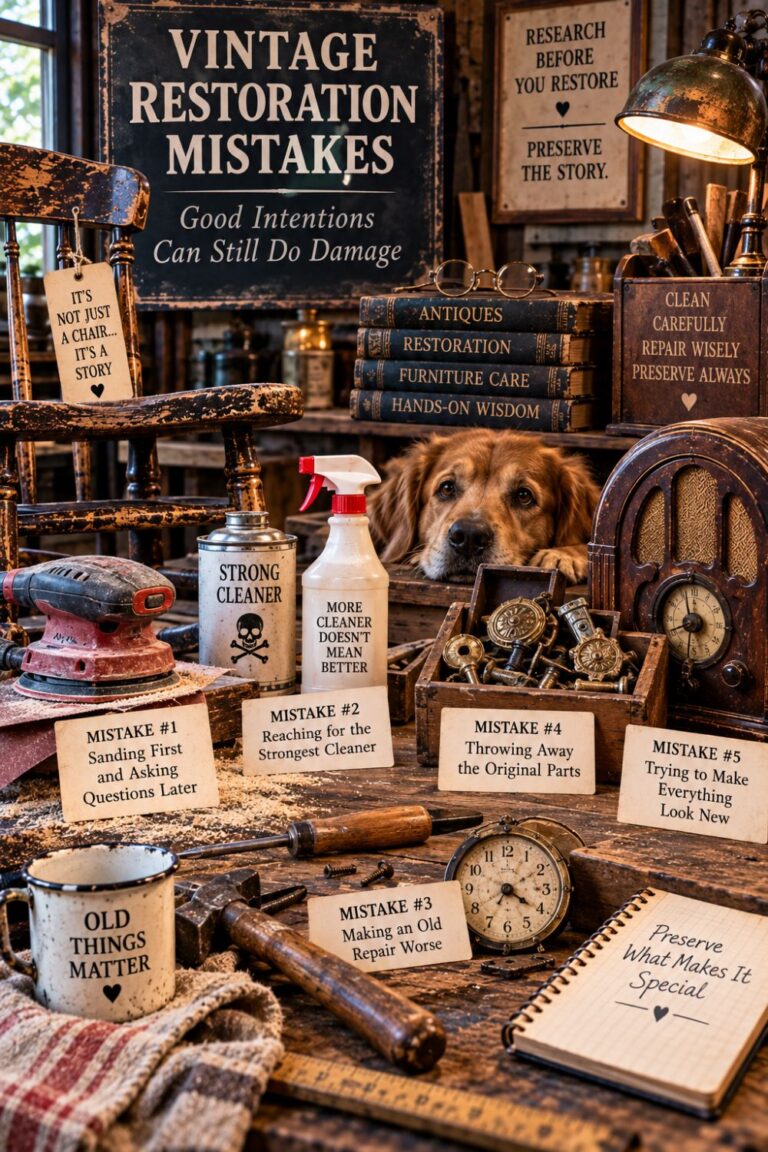
Nostalgia Nook Antiques Note: The easiest restoration mistake to fix is the one you haven’t made yet.
A Beginner's Vintage Restoration Toolkit
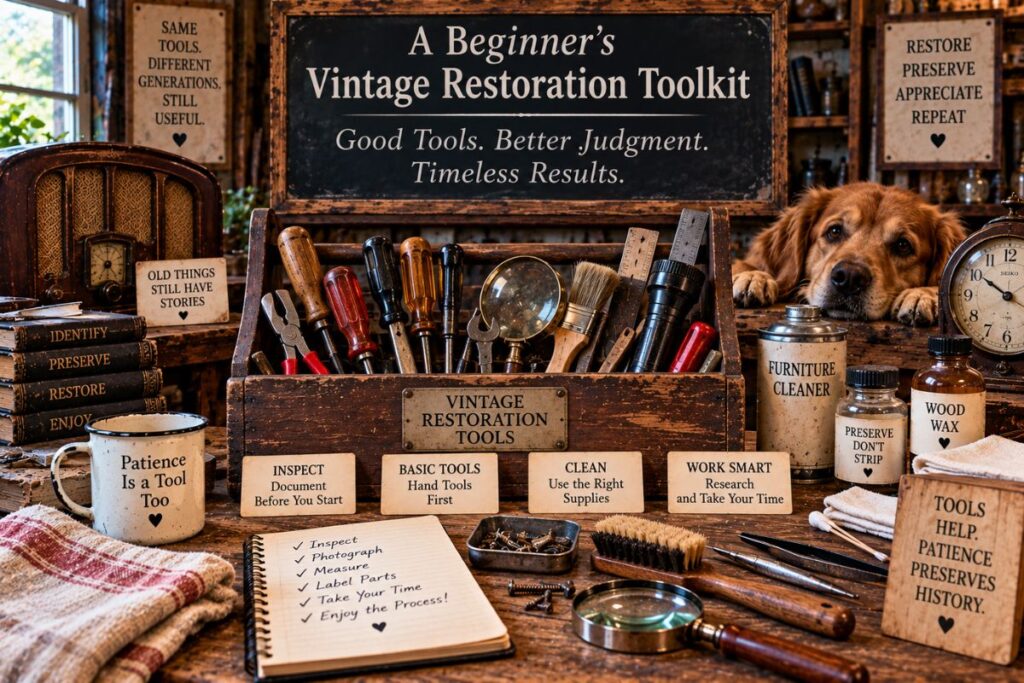
You don’t need a laboratory-type workshop to get into antique repair.
In fact, starting with fewer tools can be an advantage. It encourages you to inspect the object first instead of reaching immediately for whatever makes the most noise.
For many beginner projects, the most useful tools are surprisingly ordinary: good lighting, a flashlight, screwdrivers, soft brushes, clean cloths, a magnifying glass, and somewhere to record what you find.
Then add specialized tools only when the project actually requires them.
Vintage Restoration Tools for Inspection and Documentation
Before taking anything apart, document it.
A smartphone or camera is one of the most valuable tools on the bench. Photograph labels, hardware, wiring, joints, clock movements, radio chassis, damaged areas, and the location of every part you’re likely to remove.
Also keep a notebook nearby.
Write down model numbers, measurements, screw locations, missing pieces, and anything unusual. Small parts have an astonishing ability to become mysterious three days after you remove them.
A few zip-top bags or divided containers help, too. Label them as you work.
Photos cost almost nothing. Memory occasionally does.
Basic Hand Tools Come Before Power Tools
A beginner’s kit might include several sizes of flat-head and Phillips screwdrivers, needle-nose pliers, tweezers, a small adjustable wrench, soft-bristle brushes, a flashlight, measuring tape, and a magnifying glass.
For furniture, clamps can be far more useful than a power sander.
Meanwhile, old radios and clocks may eventually require specialized equipment. However, owning a tool doesn’t automatically make the job safe. Electrical testing and complicated mechanical work require knowledge as well as equipment.
That’s another reason to build the toolkit gradually.
Cleaning and Restoration Supplies
This is where restraint matters.
Keep soft cotton cloths, gentle brushes, cotton swabs, and small containers available for controlled cleaning. Beyond that, choose cleaners, waxes, adhesives, lubricants, and finishes according to the specific material and existing finish you’re treating.
There is no magic bottle that’s right for every antique. Different materials also require different approaches. Our guide to cleaning antique metals explains how silver, brass, iron, and other old metal surfaces can be cleaned without unnecessarily damaging their original finish.
When uncertain, test cautiously in an inconspicuous area and research the material before proceeding.
The Most Important Tool Doesn't Fit in the Toolbox
We’ve used it throughout this article.
Patience.
Patience gives you time to identify a maker’s mark before sanding over it. It makes you photograph the wiring before disconnecting it. It stops you from forcing a stuck clock gear or reaching for the strongest cleaner on the shelf.
Good tools can make restoration easier.
Good judgment can keep those tools from doing damage.
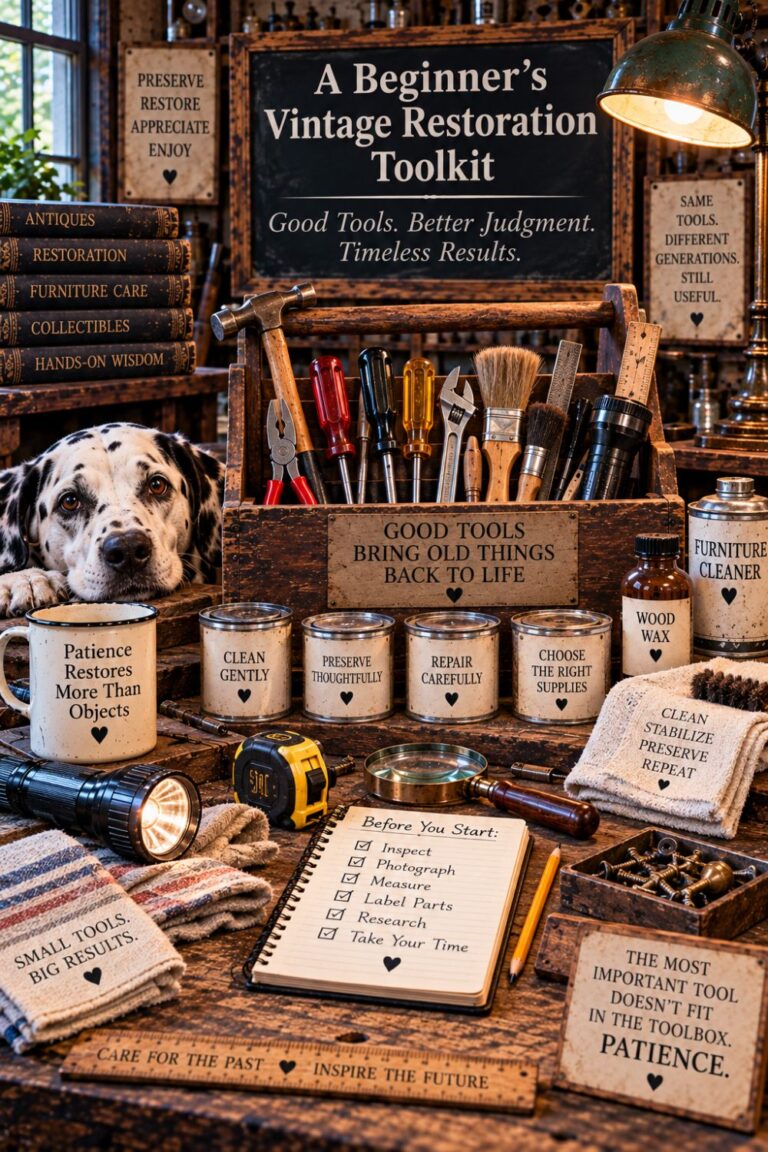
Nostalgia Nook Antiques Note: Buy the tools you need. Develop the patience you can’t buy.
The Final Touch: When an Old Piece Becomes Part of the Family Again
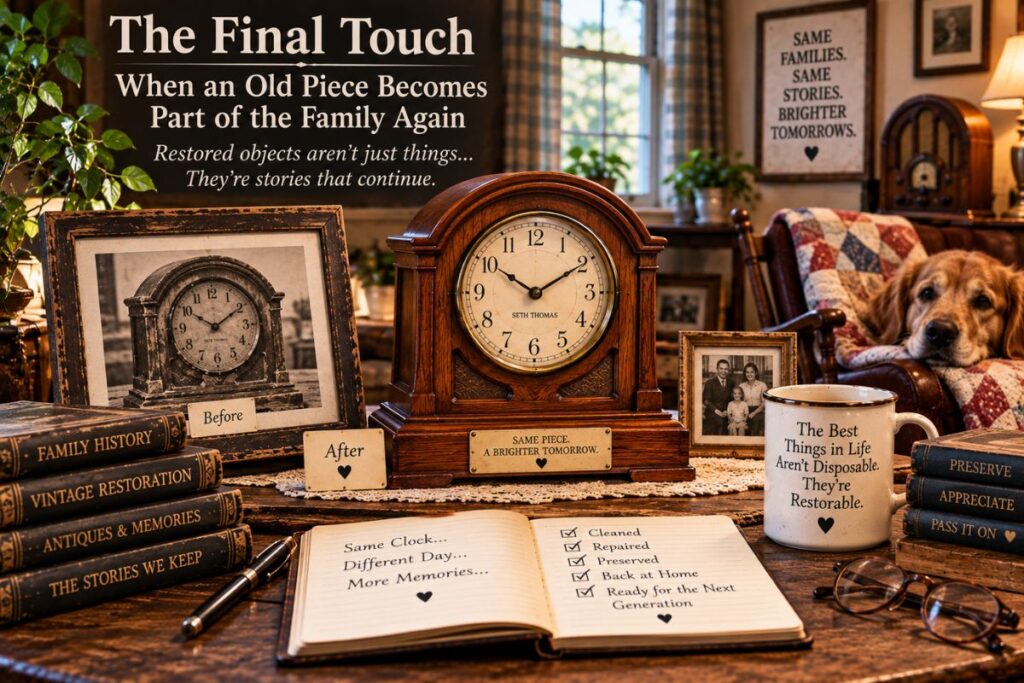
There comes a moment in vintage restoration when you finally put the tools down.
The chair no longer wobbles. The clock is ticking again. Perhaps the old radio is safely playing music for the first time in decades.
But the best part isn’t that the object looks better.
It’s that it belongs somewhere again.
An old dresser returns to a bedroom. Grandpa’s chair finds its way back beside the window. A mantel clock that spent years packed in a box once again marks the hours in a family home.
That’s when restoration becomes something more than repair.
Vintage Restoration Gives Old Things a New Chapter
We often talk about antiques in terms of age, rarity, condition, and value. Certainly, those things matter.
However, many of the objects people treasure most wouldn’t impress an auction house.
They’re valuable because somebody remembers them.
Maybe you remember your grandmother winding that clock. Perhaps the radio sat in your parents’ kitchen every morning. That scratched table might be where your family ate Thanksgiving dinner for 30 years.
Careful vintage restoration can allow those objects to remain part of everyday life rather than becoming forgotten things stored in basements and attics.
And sometimes that’s the finest restoration result possible.
The Scratches Don't All Have to Disappear
After everything we’ve learned, our goal should be clearer now.
We’re not trying to erase an object’s past.
A good restoration can stabilize what is failing, repair what is broken, clean what is genuinely dirty, and make an object useful or enjoyable again.
Still, the little marks left by previous generations can remain.
In fact, perhaps they should.
Because when every scratch, worn edge, faded spot, and old repair disappears, some of the object’s personality may disappear with them.
Pass the Story Along With the Piece
There’s one final step that doesn’t require a single tool.
Write down what you know.
Record who owned the piece. Add an approximate date if you know it. Describe where it came from and why your family kept it. Include photographs from before and after the restoration.
Then keep that information with the object.
Someday, a granddaughter opening a drawer may find more than an old dresser. She may discover who owned it, where it stood, who repaired it, and why somebody thought it was worth saving.
Suddenly, it’s no longer just old furniture.
It’s family history.
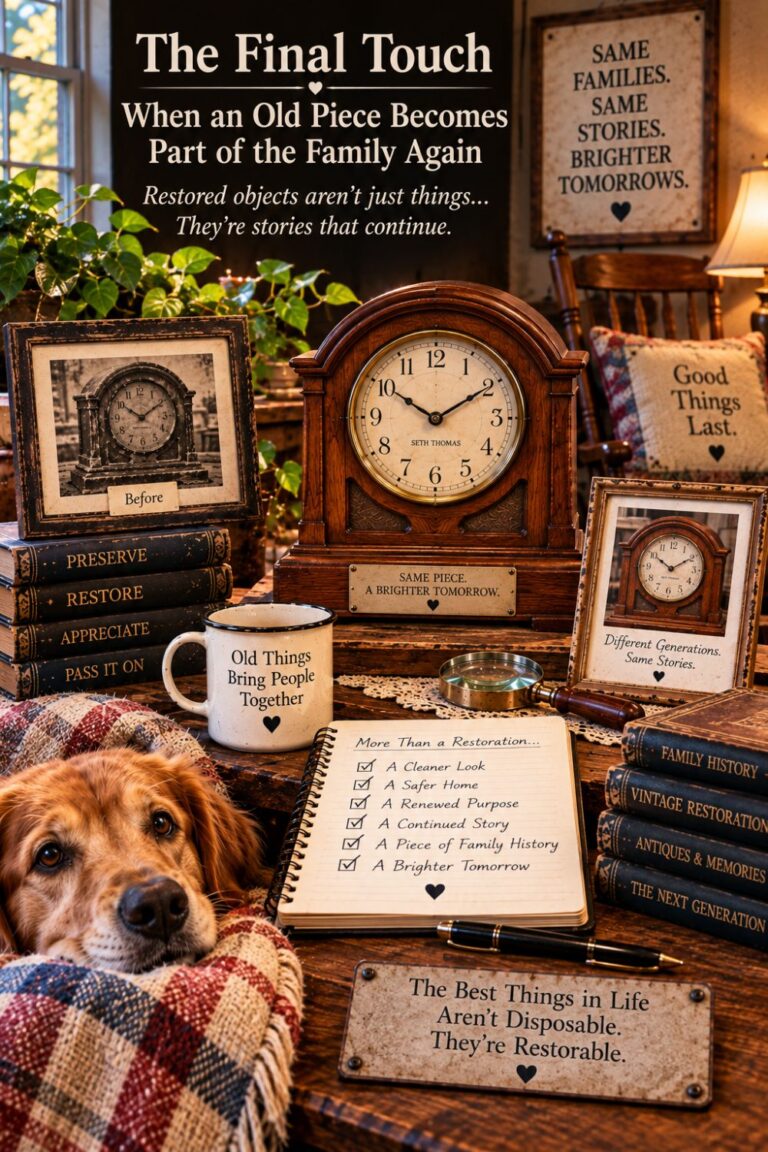
Nostalgia Nook Antiques Note: Restoration gives an old object another life. Its story gives someone a reason to keep it.
Care & Restoration — Explore more guides on restoring, cleaning, preserving, and caring for antiques and family treasures.
Heritage & Home — Discover the furnishings, traditions, and everyday objects that helped turn houses into homes across generations.
Product Reviews — See our hands-on look at nostalgic products, classic favorites, and retro finds before deciding what’s worth buying.
Some Things Are Worth Saving
Not everything old is valuable.
Not everything broken should be restored.
And certainly, not every scratch needs to disappear.
But occasionally we come across something that has survived long enough to deserve another chance.
An old radio can speak again. A silent clock can return its familiar tick to the room. A battered chair can hold another generation.
That’s what vintage restoration is really about.
Not turning yesterday into something new.
Giving yesterday a place in tomorrow.
Nostalgia Nook Antiques Note: “The best things in life aren’t disposable. They’re restorable.”

Every antique tells a story, and every tradition carries a memory. Our newsletter brings you closer to both, with inspiration, guides, and finds that make nostalgia part of your everyday life. Subscribe today and let the past brighten your future.